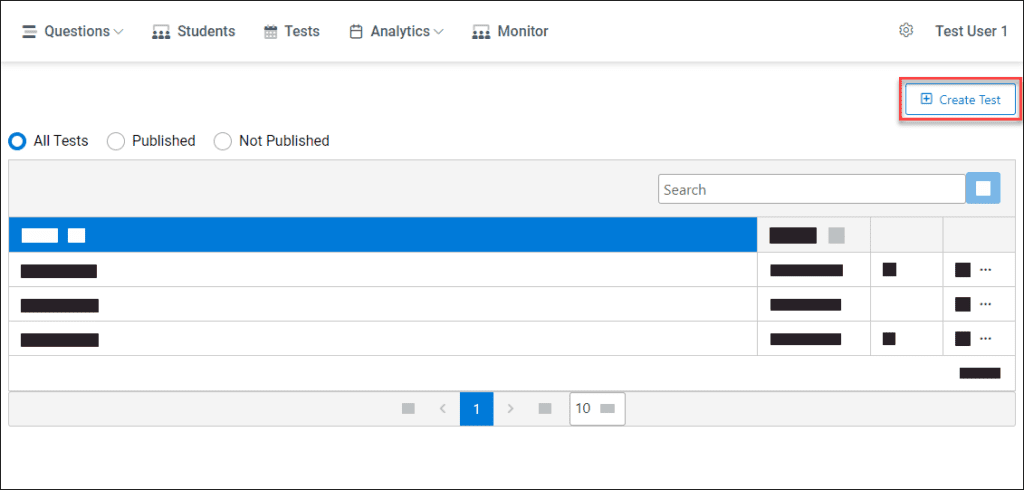
To create the Test, go to the Tests category and click the “Create Test” button.
The test contains various settings separated into different sections:
- Test Info
- Question Banks
- Student Groups
- Test Settings
- Publish the Test
Test Info #
This section contains fields for general information about the test:
- Test Name
- Test Description
- Grading Scale
Question Banks #
This section is about questions and their selection method from question banks:
- The total number of questions that students should receive in the test
- Question selection method from question banks
- The list of question banks and respective question numbers from each one
Question selection method #
There are three methods of selecting questions from question banks:
- Select the percentage of questions from each Question Bank. ExamJet will select questions from each question bank based on the provided percentage
- Select the exact number of questions from each Question Bank. ExamJet will select questions from each question bank based on the provided exact number
- Full random selection. ExamJet will select questions randomly from all question banks
Question Banks #
Each added question bank will be used when generating the test.
The question number from each one will be defined by the Question Selection method.
Student Groups #
This section defines student groups that should access that test.
There are two Authorization types:
- Undefined student list, when you don’t need a pre-authorization and anyone can take the test
- Generate access codes, when you define student groups who should have access to that test
Undefined student list
When you don’t need to restrict access to the test, you can use the Undefined student list authorization method. The possible case might include when it’s unknown the number of participants or you just need to allow your students to take tests anonymously.
Using this method, you can choose fields that are mandatory or optional to fill when starting the test.
Available fields:
- First Name
- Last Name
- Name
- Date of Birth
⚠️ When choosing fields, it’s necessary to have at least one mandatory field.
When using this authorization method, you cannot set the number of test attempts. The same student can take the test as many times as she decides.
Generate access codes
When you need to strictly define the audience, you should use the Generate access code authorization method.
In that case, you can set the test take attempt limit. It defines how might times can the student take the same test.
After publishing the test, ExamJet will generate access codes for each student. You can print them out or send them via email to each participant.
Test Settings #
In the Test Settings section, you will find various options:
- Show test results. If the student is allowed to see the test result
- Show the review page. If the student is allowed to see the question list as a separate page
- Show question text on the review page. When the Show the review page is checked, you can also enable or disable question text visibility on the review page. If the option is disabled, the student will only see question numbers than the text itself
- Show marks. If the student is allowed to see question marks
- Randomize questions.
- Do not randomize. Questions will not be randomized. The student will see questions as they appear in the question bank
- Randomize all questions. The student will see questions randomly
- Randomize by question bank. Questions will be randomized by each question bank. The student will see randomized questions and will be able to see questions grouped by each question bank
- Randomize answers. The student will see randomized answers
- Time limit. The test will be time limited. The test will be finished automatically when the time expires.
Publish the Test #
Publishing the test is the process when ExamJet generates the test and makes it available to students.
You can set the following settings when publishing:
- Test availability
- Allowed to start the test
Test availability
The time period, where the test is available.
Allowed to start the test
The number of minutes when the student can start the test after it becomes available.
If allowed to start the test is elapsed, the student can still continue the already started test.


